How to Grow Chives in a Pot: Sow, Cut and Divide
Chives are one of the easiest herbs you can grow, and one pot can give you mild onion flavor for years. Here is how to start them, cut them and keep them going.
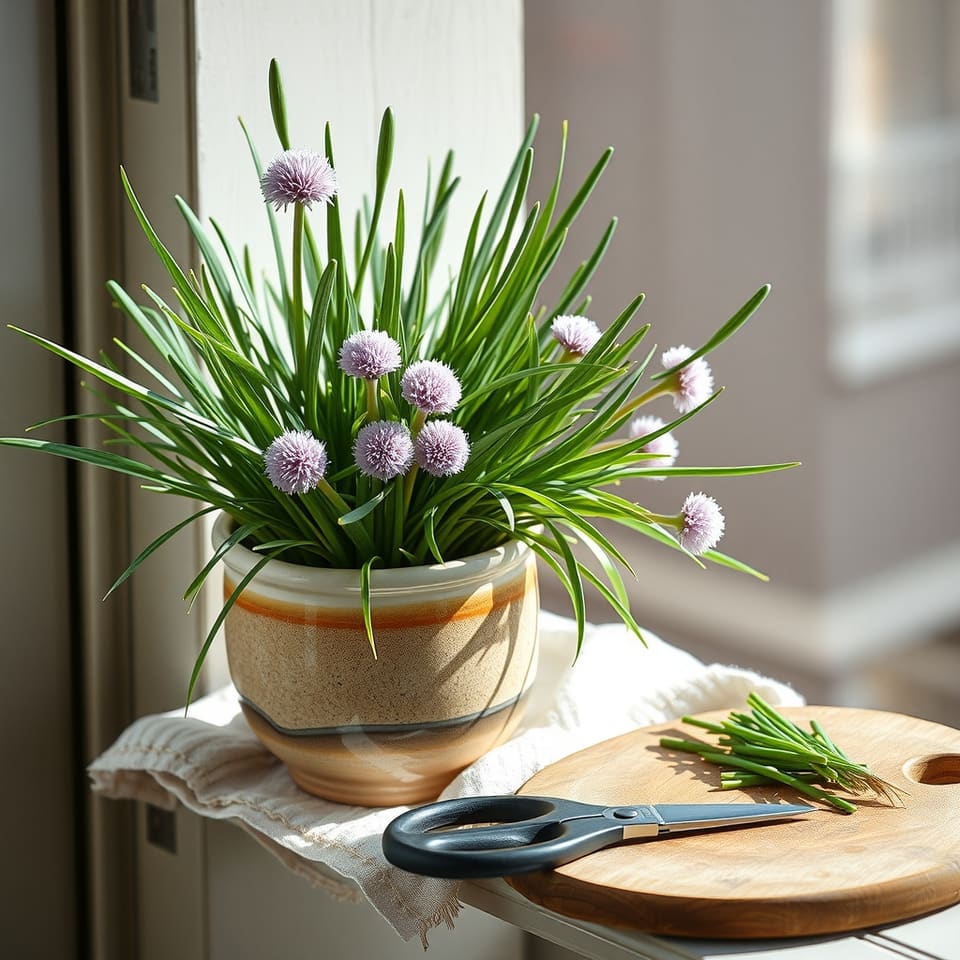
Cooks all over the world use chives for a gentle onion flavor: snipped over eggs in France, stirred into soured cream in Central Europe and North America, or scattered over soups and potato dishes almost anywhere.
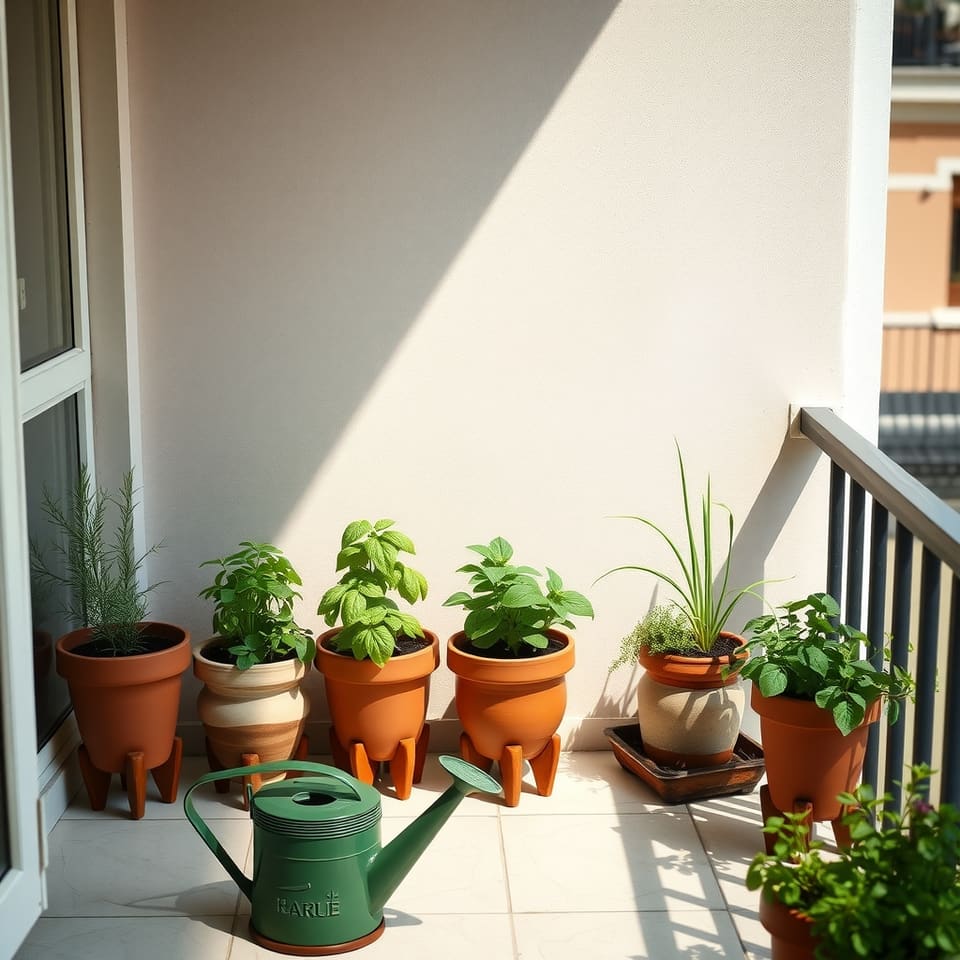
They are also one of the most forgiving herbs for a pot. A single clump on a sunny windowsill or balcony comes back year after year, and the more you cut it, the more it grows.
Seed or young plant?
University of Minnesota Extension calls planting rooted clumps in spring the easiest and most successful way to grow chives. The Royal Horticultural Society (RHS) agrees that young potted plants are the quickest start and are cheap and widely sold.
Seed works too, it just takes longer. University of Illinois Extension notes that chive seed may be slow to germinate and can take four to six weeks to produce plants ready to move. The RHS suggests sowing a few seeds 0.5 to 1 cm (1/4 to 1/2 inch) deep in early spring, in a warm, bright spot, and keeping the compost slightly moist.
How to Plant Chives in a Pot
You need
- pot at least 20 cm (8 inches) wide and deep, with drainage holes1
- peat-free, soil-based potting compostenough to fill the pot
- young chive plant, or a pinch of chive seed1
- saucer to catch water, for indoors or summer only1
- clean kitchen scissors1 pair
Method
- Fill the pot with compost to about 2 cm (1 inch) below the rim.
- For a young plant: water it first, ease it out of its pot and plant it at the same depth, then firm the compost and water well.
- For seed: sprinkle a few seeds over the surface, cover with 0.5 to 1 cm (1/4 to 1/2 inch) of compost and keep it slightly moist in a warm, bright place. Be patient, as it can take several weeks.
- Stand the pot where it gets as much direct sun as possible, ideally six hours or more.
- Water whenever the top of the compost feels dry, and do not leave the pot standing in water.
- Once the clump is growing strongly, cut leaves with scissors about 2.5 cm (1 inch) above the soil, a handful at a time.
- Every few years in spring, tip the plant out, pull or cut the clump into smaller pieces and replant one piece in fresh compost.
Tips
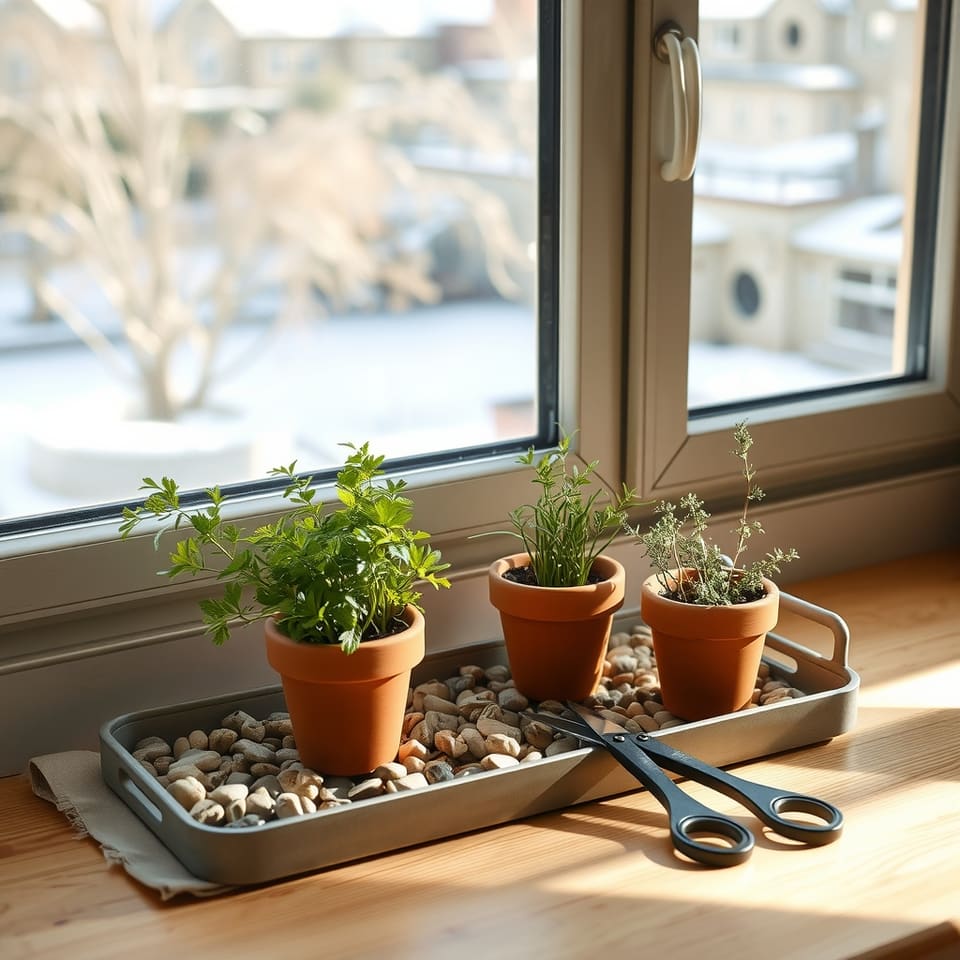
- For winter chives indoors, pot up a clump from the garden and keep it on a sunny windowsill, as the RHS suggests.
- Garlic chives are a related plant with flat leaves, a garlic flavor and white flowers in late summer.
- Do not cook chives for long. Snip them over food just before serving.
The right pot, light and water
The RHS recommends a container at least 20 cm (8 inches) wide and deep, filled with peat-free, soil-based compost. Minnesota Extension stresses drainage holes and a light, well-drained mix.
Chives grow in sun or partial shade, but Minnesota Extension says six to eight hours of direct light is best. Pots dry out faster than garden soil, so water through the growing season to keep the compost evenly moist, without leaving it soggy. Go easy on fertilizer: Minnesota Extension warns that too much can harm chives, and suggests liquid feed at half strength every four to six weeks for pots, and none in winter.
What the evidence says
A common worry is that cutting chives weakens them. The advice from the sources points the other way. The RHS says regular cutting produces more new leaves, and Illinois Extension says harvesting through the season keeps leaves from getting tough. Cut close to the base, about 2.5 cm (1 inch) above the soil, rather than trimming the tips.
Clumps do get crowded with age. The RHS advises lifting and dividing them every three or four years, and Illinois Extension suggests every two to three years, with four to six small bulbs in each piece. Chives naturally die back in autumn; outdoors they return in spring. Indoors, Minnesota Extension notes that growth slows in winter because of poor light, and the plant should recover when spring sun returns.
Harvesting and using chives
Pick from late spring until the plant dies back in autumn. After flowering, the RHS suggests cutting the whole clump back to about 5 cm (2 inches) for a flush of fresh leaves within a few weeks.
The round pink to lilac flower heads are edible. Pick them when newly open and pull the florets apart over salads, eggs or potatoes. Illinois Extension advises removing flowers before they fade if you do not want seedlings spreading. The RHS notes that cooking destroys much of the flavor, so add chives at the end or use them raw. Minnesota Extension says you can freeze chopped chives and use them without thawing.
Questions people ask
Can I grow chives indoors all year?
Yes, on a bright, sunny windowsill. Expect slower growth and some dieback in winter, when light is poor. Do not feed in winter, and growth should pick up again in spring.
Should I let my chives flower?
You can. The flowers are edible and pretty. Cut the flower stalks off once they finish, or before they fade, to stop self-seeding and keep the plant leafy.
Why are my chives thin and floppy?
Usually too little light or an overcrowded clump. Move the pot somewhere sunnier, and if it has been in the same pot for a few years, divide it in spring.
Sources
- How to grow Chives — Royal Horticultural Society
- Growing chives in home gardens — University of Minnesota Extension
- Chives — University of Illinois Extension
- Toxic and Non-toxic Plants: Chives — ASPCA
This article is for general information only and is not medical advice. Herbs can interact with medicines and health conditions. Talk to a doctor or pharmacist before trying a herbal remedy, especially if you are pregnant, breastfeeding, giving it to a child, or taking any medication.